It’s not unusual for business owners to create their own artwork for printed material. It saves time, money, and man-hours. However, if it’s not done right, business owners could end up spending more money in the long run.
If you’re looking to create a usable file to send to a printing company, there are some things to keep in mind. As a small family-owned business, Acu-Data is dedicated to making your life easier. We’re all about simplifying business with effective solutions. So if your artwork savvy and you want to know how to prepare artwork for your print professional, read on.
Why Word or Publisher Won’t Cut It
Just about anyone can use Word or Publisher to create letterhead or a logo, but not every printer will be thrilled with the format you present to them. We tend to think we can create something with our limited software and then deliver it to the printer as a PDF. And while you certainly can, you’re gambling with submitting a file that could drop letters from your text, print with a completely different font, or print colors you never anticipated. If you want to avoid the pitfalls of low-quality artwork and inefficient layout, you’ll need to deliver your artwork as a Vector or Raster file.
Creating the Proper File

Professional printing companies and promotional product suppliers prefer artwork that is created in programs like Adobe Illustrator, Photoshop, and InDesign. Outside of these Adobe products, Corel Draw is also preferred. Any of these programs can create a Vector or Raster file.
- A vector file is made up of lines and curves that allow you to minimize or maximize the image without it becoming blurry. This is the preferred format when designing a logo.
- A raster file is created using a fixed number of colored pixels that can’t be enlarged without it becoming pixelated or blurry. This is the preferred format when enhancing photographs.
Neither of these files can be created in Word or Publisher. If you want high-quality artwork, it should be sent to a professional printing company in one of these two formats.
What Else Do I Need to Know?
Now that you know what kind of software you need and the format you need it in, there’s some terminology you should become familiar with. Understanding this terminology and what to look for as you create your artwork can save you the headache of delivering a not-so-stellar file to your professional printer.
a. Bleeds – A bleed is the area on a printed sheet where ink extends to the edge. It should be at least an 1/8 bleed all the way around your image.
b. Outline Fonts – These fonts are typically PostScript or TrueType and can be scaled to any size.
c. PDF’s – A Portable Document Format.
d. Resolution – Resolution defines how many of your image’s pixels will fit inside each inch of your design.
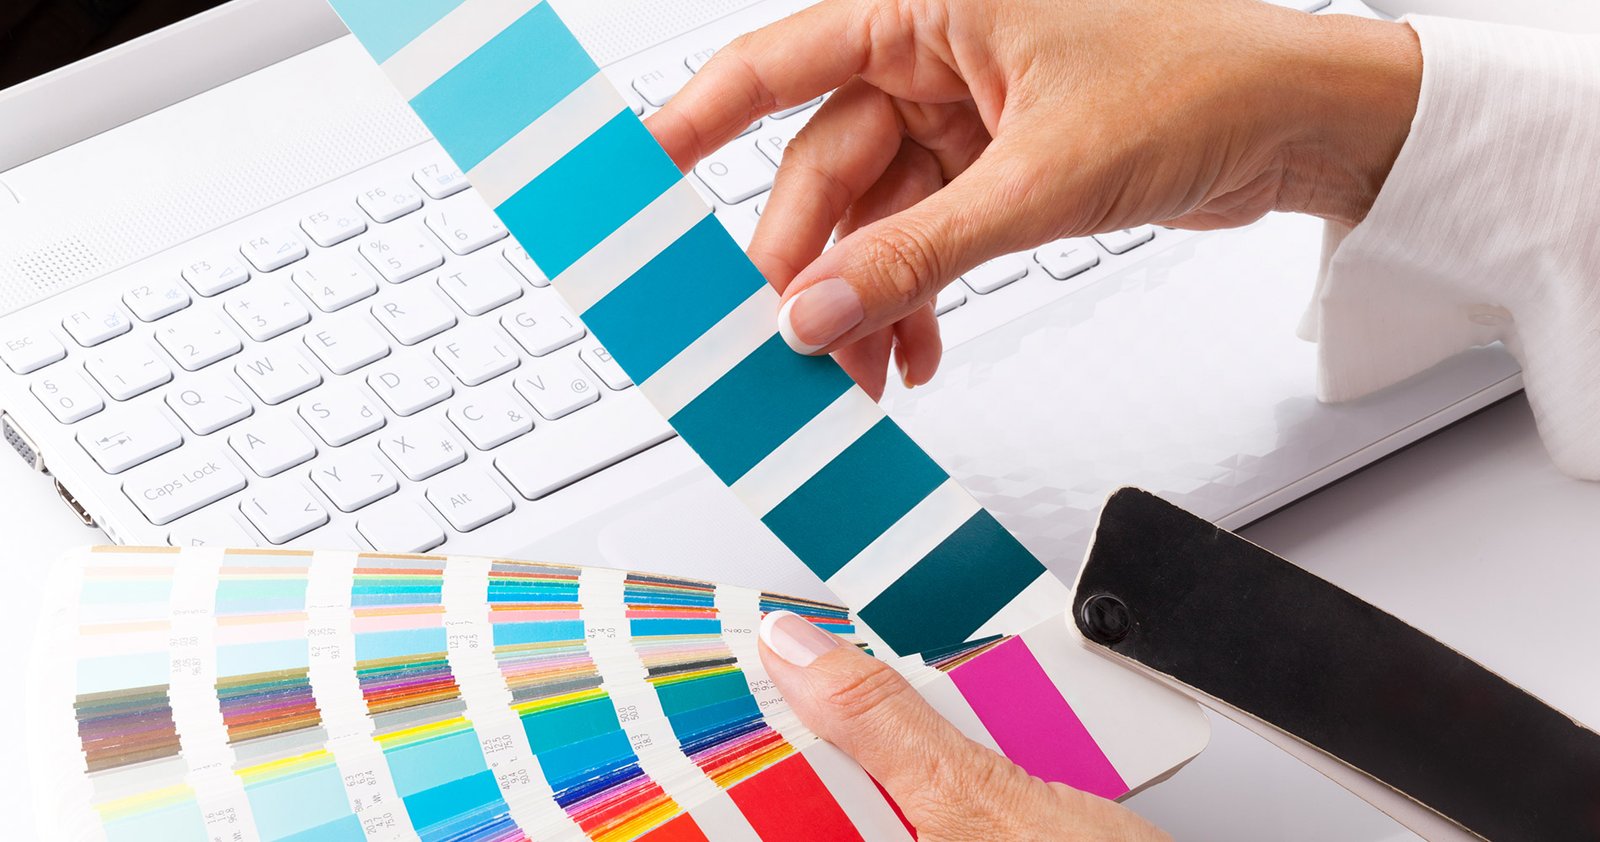
e. Color Usage – CMYK is used for printing. RGB is used for digital or on screen. Spot Colors are used for offset printing and screen printing.
What if I Can’t Do This?
If any of this seems overwhelming, we get it. That’s why we offer customized solutions to help with internal business operations, as well as communication with customers. If you don’t have the ability to do your own artwork, our professional graphic design team can create artwork to make your print project or promotional item stand out.
Acu-Data has over 40 years of industry experience. Our personalized one-on-one service might be just what you need. Ready to have professional artwork created for your printed materials?
Please contact us online and schedule a no-obligation consultation or call 1-800-535-6563 to get started today!. We’re waiting to create something amazing for you.